Thursday, May 11, 2017

Antique Plaster Alginate Knife Restoration


Last year, I had the good fortune to receive the accumulated tools and materials of an acclaimed figurative sculptor who worked professionally in the modelling and fine ceramics and porcelain industry for many years. Among his vast collection of clay tools, rasps, chisels, and assorted modelling implements, I discovered a very interesting double-bladed knife tool. The steel was badly rusted, the bronze handle was covered in a thick layer of crusted patina, and the paper micarta-style handle was warped and swelled due to age. The only markings on the tool to be found were on the blade: "Adam Kalb, 162 Grand St. N.Y.". And so the research began.

Detail of Knife Inscription and Corrosion

After a good deal of research, the only references to an Adam Kalb at 162 Grand Street in New York come from "The Edison Monthly and Electrical Directory" published in July of 1919 by The New York Edison Company and the "Engineering Directory" published in 1921 by The Crawford Publishing Co. in Chicago. Both of these publications are directories of industrial suppliers, tool-makers, and distributors for the various industries and trades of the day. The exact listing reads as follows:

"Adam Kalb, 162 Grand st., New York, N. Y.  Mill, machinists', engineers', electrical and platers' and polishers' supplies. Buyer, Adam Kalb."

Upon further research, I believe the tool to be a plaster alginate knife from the dental and mold-making industry. The knife blade end is used for carving plaster mold pieces and cutting open alginate molds, while the blunt end has a slight bevel that allows it to be used as a prying tool to oped up mold pieces and safely remove patterns and models from the mold without damaging the piece or the knife blade. 
An example of a modern plaster alginate knife from the dental industry.

With the history and context of the knife firmly established and it's use and function established, it was time to restore and refinish the tool to brig back it's luster and beauty, not to mention adding a highly useful implement to my studio tool collection. The long 1-piece steel blade was easily removed from the handle by taking out the rusted set-screws, which allowed me to refinish the blade lightly and redefine and sharpen the cutting and prying edges. Next the handle was sanded down to remove the corrosion, clean up the paper and resin phenolic handle material, and re-polish the entire piece. The blade was re-installed in the handle, and the restoration was complete Here is the result:

Plaster Alginate Knife
Attributed to Adam Kalb, New York - Supplier
Circa 1920's

Sunday, February 26, 2017

Between Rock Drilling and Hard Places: Creative Problem-Solving

The desired configuration of stone and bronze.

The Idea: I want to mount a bronze casting to a chunk of stone that is bolted to a live-edge maple base with a 4mm brass spacer holding the stone up off the surface of the base so that there is a nice floating edge detail. I will drill 4 holes into the top surface of the stone to epoxy threaded rods in place that will slide up the inside corners of the hollow bronze casting and be affixed with PC-7 epoxy. I will need to cut out the brass spacer first, and use that as a template to drill 2 holes perpendicular to the bottom of the stone to epoxy in threaded rods that will go through clearance holes in the wood base and be secured with acorn nuts from below.

The Problem: The 2 flat-ground faces of the stone are not parallel, meaning that I can only drill holes that are perpendicular to the surface opposite what I am drilling into, as it is the surface resting on the drill press table. Clamping the stone is not an option, as the force needed to secure it from vibrating loose while using a diamond hole saw bit would likely damage the texture on the stone and potentially destroy it. Gluing the stone to a board that is bolted or clamped to the drill press bed is also an equally risky option, as the stone could pop off the board while drilling and result in a potentially dangerous situation.

The Solution: Encase the stone in a plaster mold that will hold the stone steady without damaging it and drill the necessary holes in the bottom surface that is now parallel to the top of the plaster mold and the drill-press bed.

The stone wrapped and mounted inside the mold frame, with all joints sealed with hot-glue.

The plaster mold poured with steel weights on top to prevent a blowout from the bottom seam.

The mold base removed and the stone marked for drilling with the brass pre-drilled spacer.

Wet-drilling the 11mm holes in the stone with a diamond core drill bit and water.

The holes drilled successfully and mold frame removed, ready to break open the plaster.

Tuesday, January 24, 2017

Reworking and Revisiting: When is a piece truly finished? (Part 1 of 2)

The piece "Rectified" was originally completed in 2015, and at the time, it represented the resolution of a number of visual, conceptual, and technical considerations that had surrounded my work and specifically my small cast-bronze sculptural units since graduate school. While the solution of the rock form and wooden base as the appropriate way to display the tension and sense of abstracted industrial decay of the bronze unit was a significant step in the right direction at the time, I always had an issue the the interaction of the wood plane and the rock form. 

The original version of the sculpture illustrates a visual and contextual disconnect relating to material interaction and intention:

"Rectified" - Original Version, 2015

After 2 years of looking at the piece every day, I finally took the time to reevaluate the piece and do what was necessary to properly resolve it. I cut and silver-brazed a steel frame together, then sanded, blackened, and sealed the finished form. It was tightly fitted around the wood base and affixed with 12 brass pins through the shorter side pieces, leaving the front clean and unbroken. The recess formed by the frame was then filled with polished brass lock pin spacers. These brass pins are used in the master-keying of facilities and institutions, thereby allowing multiple keys with different pin heights to open the same lock. The brass field was then raked out and smoothed. The resulting zen garden-like aesthetic with a solitary boulder and tenuous bronze industrial structure is exactly what I always envisioned for the piece, and I am extremely pleased with how it turned out:

"Rectified"
12.5" W x 10.5"D x 13"H
Bronze, Copper, Brass, Steel, Stone, Wood
2017

Another factor that contributed to the reworking of the piece was an unfortunate minor accident involving the copper chain tie-down that occurred during the return shipping of a piece from an exhibition. The chain was returned separated in the middle, and sat for over a year broken and incomplete. Rather than just reattach or replace it, I fabricated a fully functional turnbuckle from brass micro-hardware and tubing to reconnect the chain pieces. It's a minor detail, but for me it really adds to the visual tension and context of the chains function in relation to the bronze drain stack unit.

Detail of Chain and Turnbuckle Unit

In Part 2 of this blog post I will explore in more depth the relationship between the creative process and the completion of a piece or body of work. This will address such issues as the impact of the original concept on the piece that is ultimately created, the importance and place that naming or titling a piece holds within the creative process, and the argument for revisiting old works as opposed to making a completely new piece instead and furthering one's creative exploration.

Friday, December 30, 2016

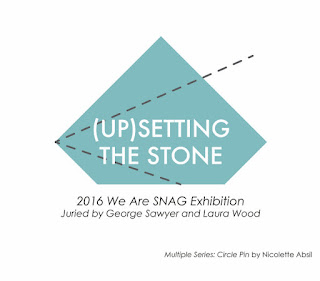
(Up)Setting the Stone: 2016 We Are SNAG Exhibition


I am very pleased to announce that one of my recent works was selected for the 2016 We Are Snag online exhibition "(Up)Setting the Stone". The exhibition was juried by George Sawyer and Laura Wood, and focuses on the concept of the setting in traditional jewelry as a technical process, conceptual idea, and abstraction to be manipulated and utilized in different ways within the field of contemporary jewelry and metalsmithing. I am truly humbled and honored to be included in such an amazingly talented and diverse group of artists and makers. I am grateful to the jurors for including me in this strong exhibition, check it out at SNAG/SPACE, the online exhibition space for the Society of North American Goldsmiths:
http://www.snagspace.org/upsetting-the-stone

Monday, December 19, 2016

2017 Regional Artist Project Grant Recipient


I am very honored and excited to announce that I have been awarded a 2017 North Carolina Regional Artist Project Grant, through the Arts and Science Council of Charlotte, NC and the Union County Community Arts Council. My grant request was for the funds to purchase an oxygen/acetylene torch setup to be able braze and cast my sculptural forms and units for use in my jewelry and sculptural works. This was my first grant-writing experience, and the process was highly informative and rewarding, and allowed me to better understand and articulate my own thoughts about my work, creative practice, and artistic vision.

I will post more about the process in January once I receive the grant, get the equipment set up, and begin creating a series of 5 brand-new sculptural jewelry pieces and one outdoor sculpture. I look forward to documenting and writing about my creative process and studio practice as I create my first new series of lost-wax castings in over 5 years.

The Arts and Science Council received nearly 100 grant requests from the counties of Cabarrus, Cleveland, Gaston, Iredell, Lincoln, Mecklenburg, Rowan, Rutherford, Stanley, Union, and York (SC). In the end, 32 grant proposals were approved and funded. I am honored to be included in such a diverse and talented group of literary, performing, and visual artists. Check out the full list of artists and grants at:

http://www.artsandscience.org/asc-grants-allow-regional-artists-focus-work/

This project was made possible by the N.C. Arts council, a division of the Department of Cultural Resources, the Blumenthal Endowment and the Union County Community Arts Council.


Monday, December 12, 2016

Found Object Spoon Necklaces

"Untitled"
Chrome-Plated Bronze
9.5"H x 7.25"W x .5"D
2016

This set of sculptural chrome-plated bronze necklaces is made from the re-purposed handles of vintage Dirilyte flatware. Dirilyte, (formerly known as Dirigold) was the trade name for a proprietary aluminum bronze alloy created in Sweden in 1914 by Carl Molin for flatware and serving pieces. It was designed to mimic the look of gold without resorting to plating or other coatings that would wear away with time. In 1935 the FTC filed a suit against the company alleging that the name "Dirigold" was misleading the public into believing there was actual gold content in the metal. The company changed both their name and the name of their product to Dirilyte, and operated independently in the United States till they were bought out in 1971.

When I first found out about Dirilyte and Dirigold flatware, I was excited to get my hand on it and see what I could do with the material, as bronze is one of my favorite materials to work with. I acquired several different pattern sets from resale shops and flea markets, and began experimenting with the flatware to see how it responded to annealing, forging, fabrication, and soldering. After playing around for some time, I came upon a simple but elegant use for the handles of one particular spoon and fork pattern. The bronze handles were deconstructed, forged, and ground into the desired links, and connected with soldered U-hinges that were fitted into counter-sunk holes drilled into the bronze for structural support. The larger necklace is a continuous loop that can can be put on over one's head, while the smaller necklace has a hook clasp hand-carved from the bronze material itself. I did an initial test piece for the clasp mechanism by manipulating a single spoon from the set, resulting in an interesting craft/art object that get utilized for further creative purposes in the future.

Detail of Sample Clasp Mechanism

Original Spoon, Clasp Test-Piece, and Forged/Manipulated Links


Tuesday, October 18, 2016

38th Annual Tri-State Iron Pour Molds and Castings

For the 38th Annual Tri-State Sculptors Conference Iron pour, I made 2 reaction molds in my shop to take to the pour. Normally a mold for iron-casting would be made of resin-bonded sand or ceramic shell, as traditional plaster and investment molds react poorly to the molten iron resulting in poor quality castings. Reaction molds, however, are specifically designed to react with the molten iron and create a brilliant display of sparks and flames. Usually constructed of wood elements, they can be incorporated with other mold methods such as resin-bonded sand to provide structure and strength to the mold, as wood behaves very differently when in contact with molten iron. It has instantly shrink, expand, crack, and break down in unexpected ways, resulting in a rupture of the mold that allows the metal to run out. If one can manage to construct a wooden mold in such a way as to withstand the heat of the iron long enough to allow it to begin to solidify and cool, some very interesting textures and effects can be created.

The Mold:


I constructed 2 wood molds, of which the main mold is shown above in 2 pieces prior to assembly. The double layers of plywood are staggered to prevent iron from leaking out of the mold as the wood burns and expands. After assembly all seams and joints were sealed with 3000 degree refractory cement for added security.


Once the molds were poured, the wooden forms burned away completely over the course of the next hour or so.

The Aftermath:


The Results:


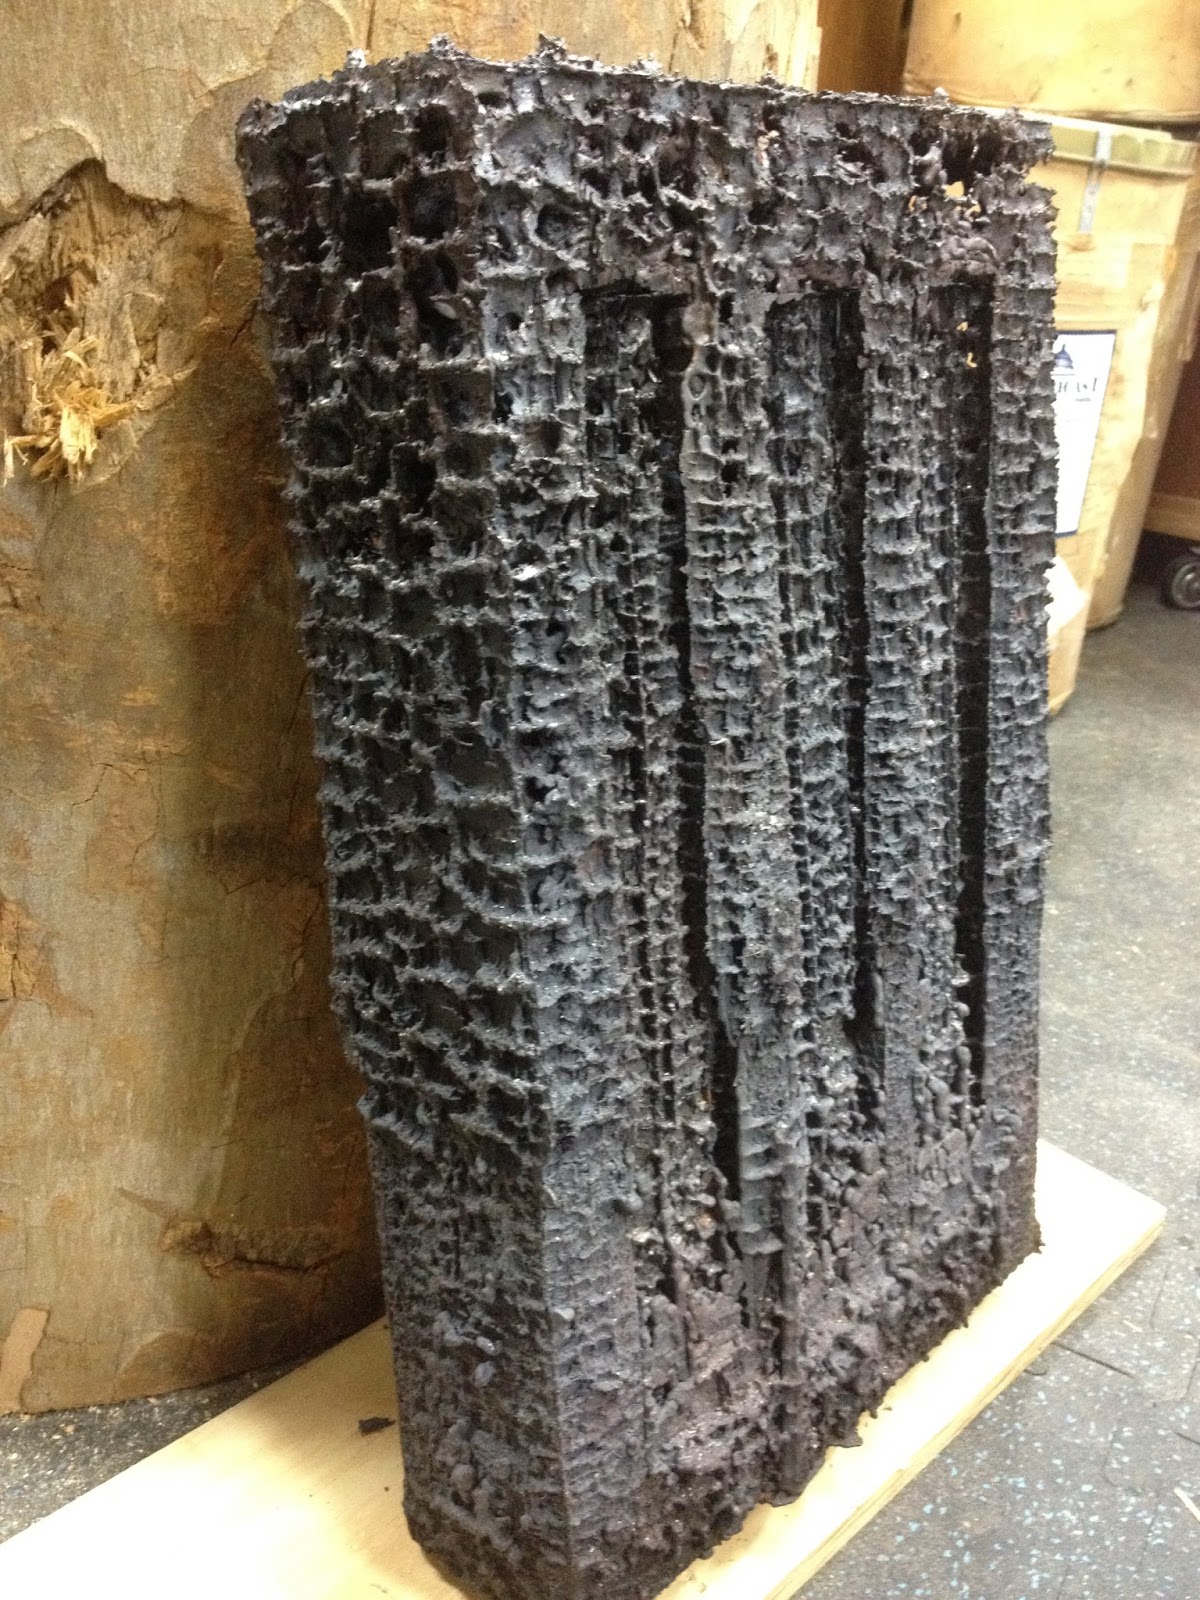
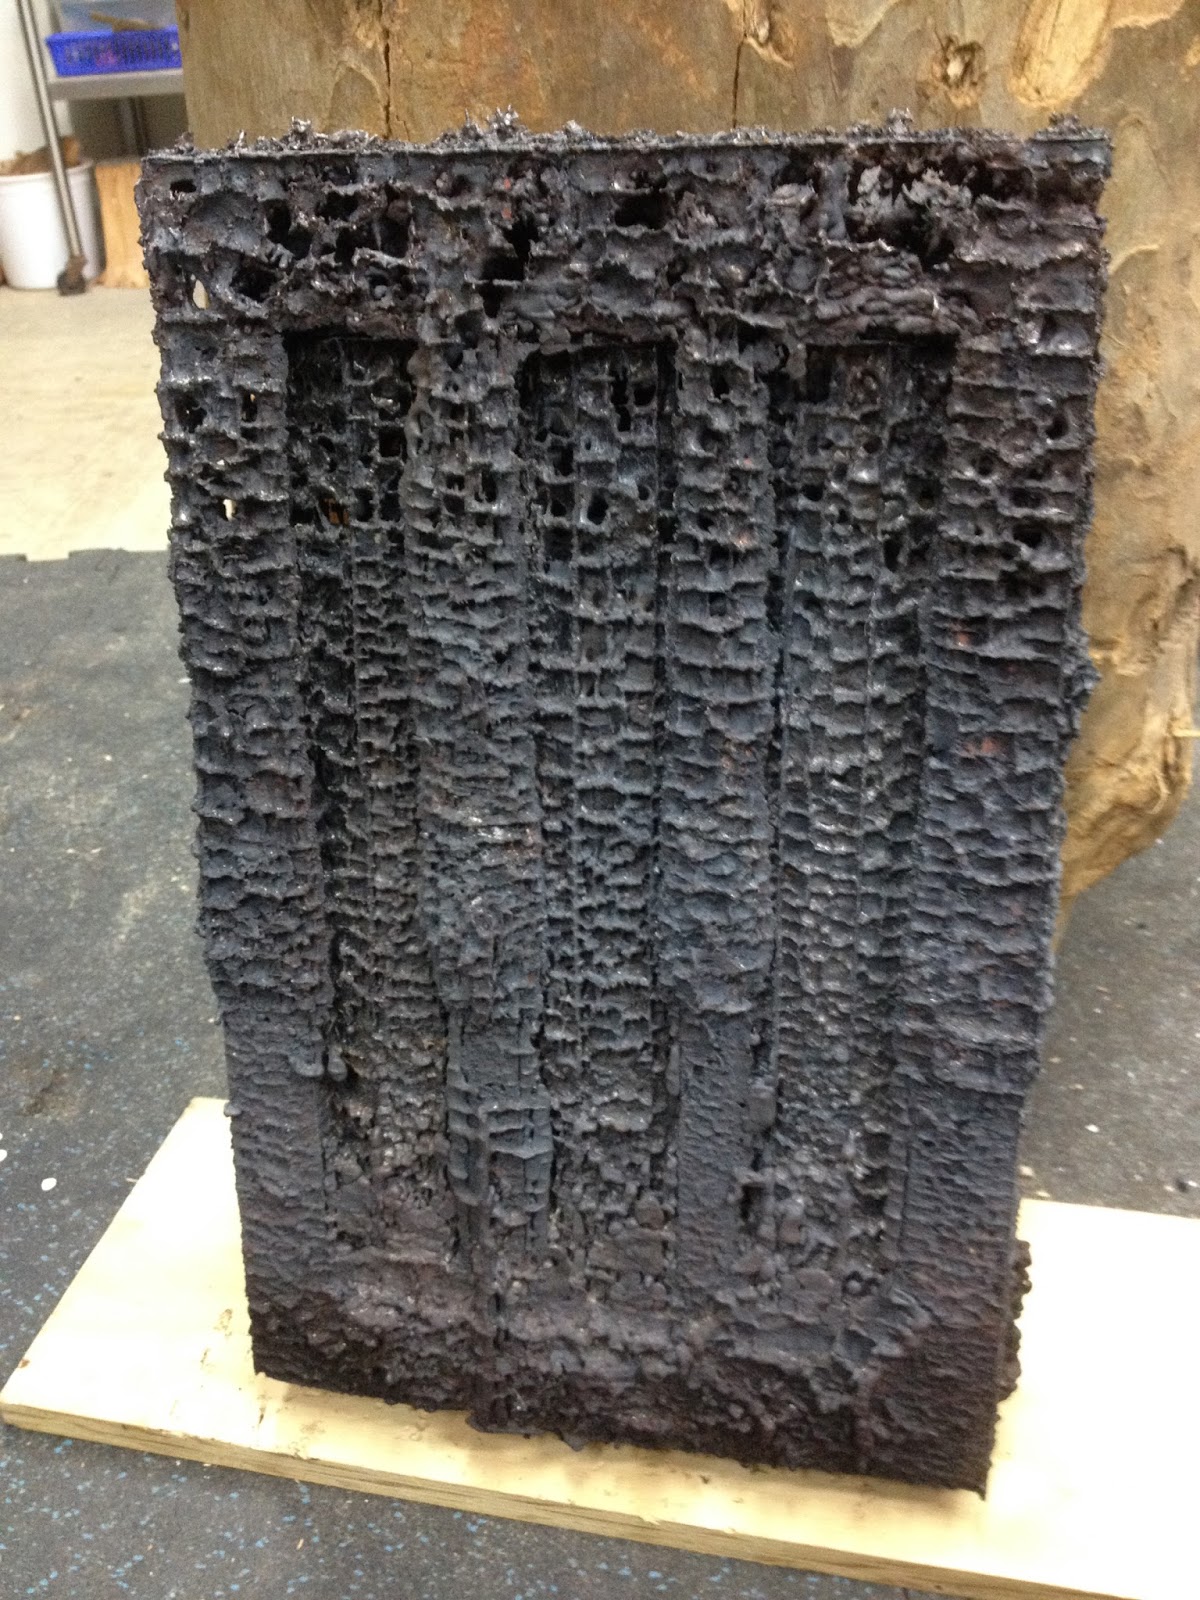
The resulting main casting turned out fantastic, with an amazing texture and surface that I did not expect. It turned out far heavier than I anticipated, at least 80lbs, as once the wooden mold began to burn when in contact with the molten iron, the interior space increased and as a result, so did the overall mass.

The voice you can hear on the videos talking about iron casting and the process is that of James "Dudders" Dudley, a fellow artist, maker, and ECU alum. Thank you for the unintentional narration, sir. Check out an awesome podcast he is involved with along with a host of other highly talented and creative individuals, Damn Art Majors.